Swarm Robotics Week 3: All About the Algorithm

Hey! I’m back to report about my third week of my Senior Experience project. My primary objective for this week was to implement a positioning algorithm for my swarm drones.

Let me back up and explain what those big words I just used meant.

The drones in my robot swarm are very simple. They can do two things: drive (forwards, backwards, and right/left steering) and connect to the Internet. The drones have no on-board sensors, so there is no way for them to know where they are. They cannot sense if they are about to bump into each other or even detect if they are about to drive off a table. If you have been keeping up with my blog, you’ll know that I have also been building an Internet-connected camera that can track the locations of the swarm drones based on their colored hats. Last week, I planned a system for the camera to send the location of the swarm drones to the drones themselves. The last step is to program the drones to be able to to use the location data from the camera module to navigate around a space and drive to a target

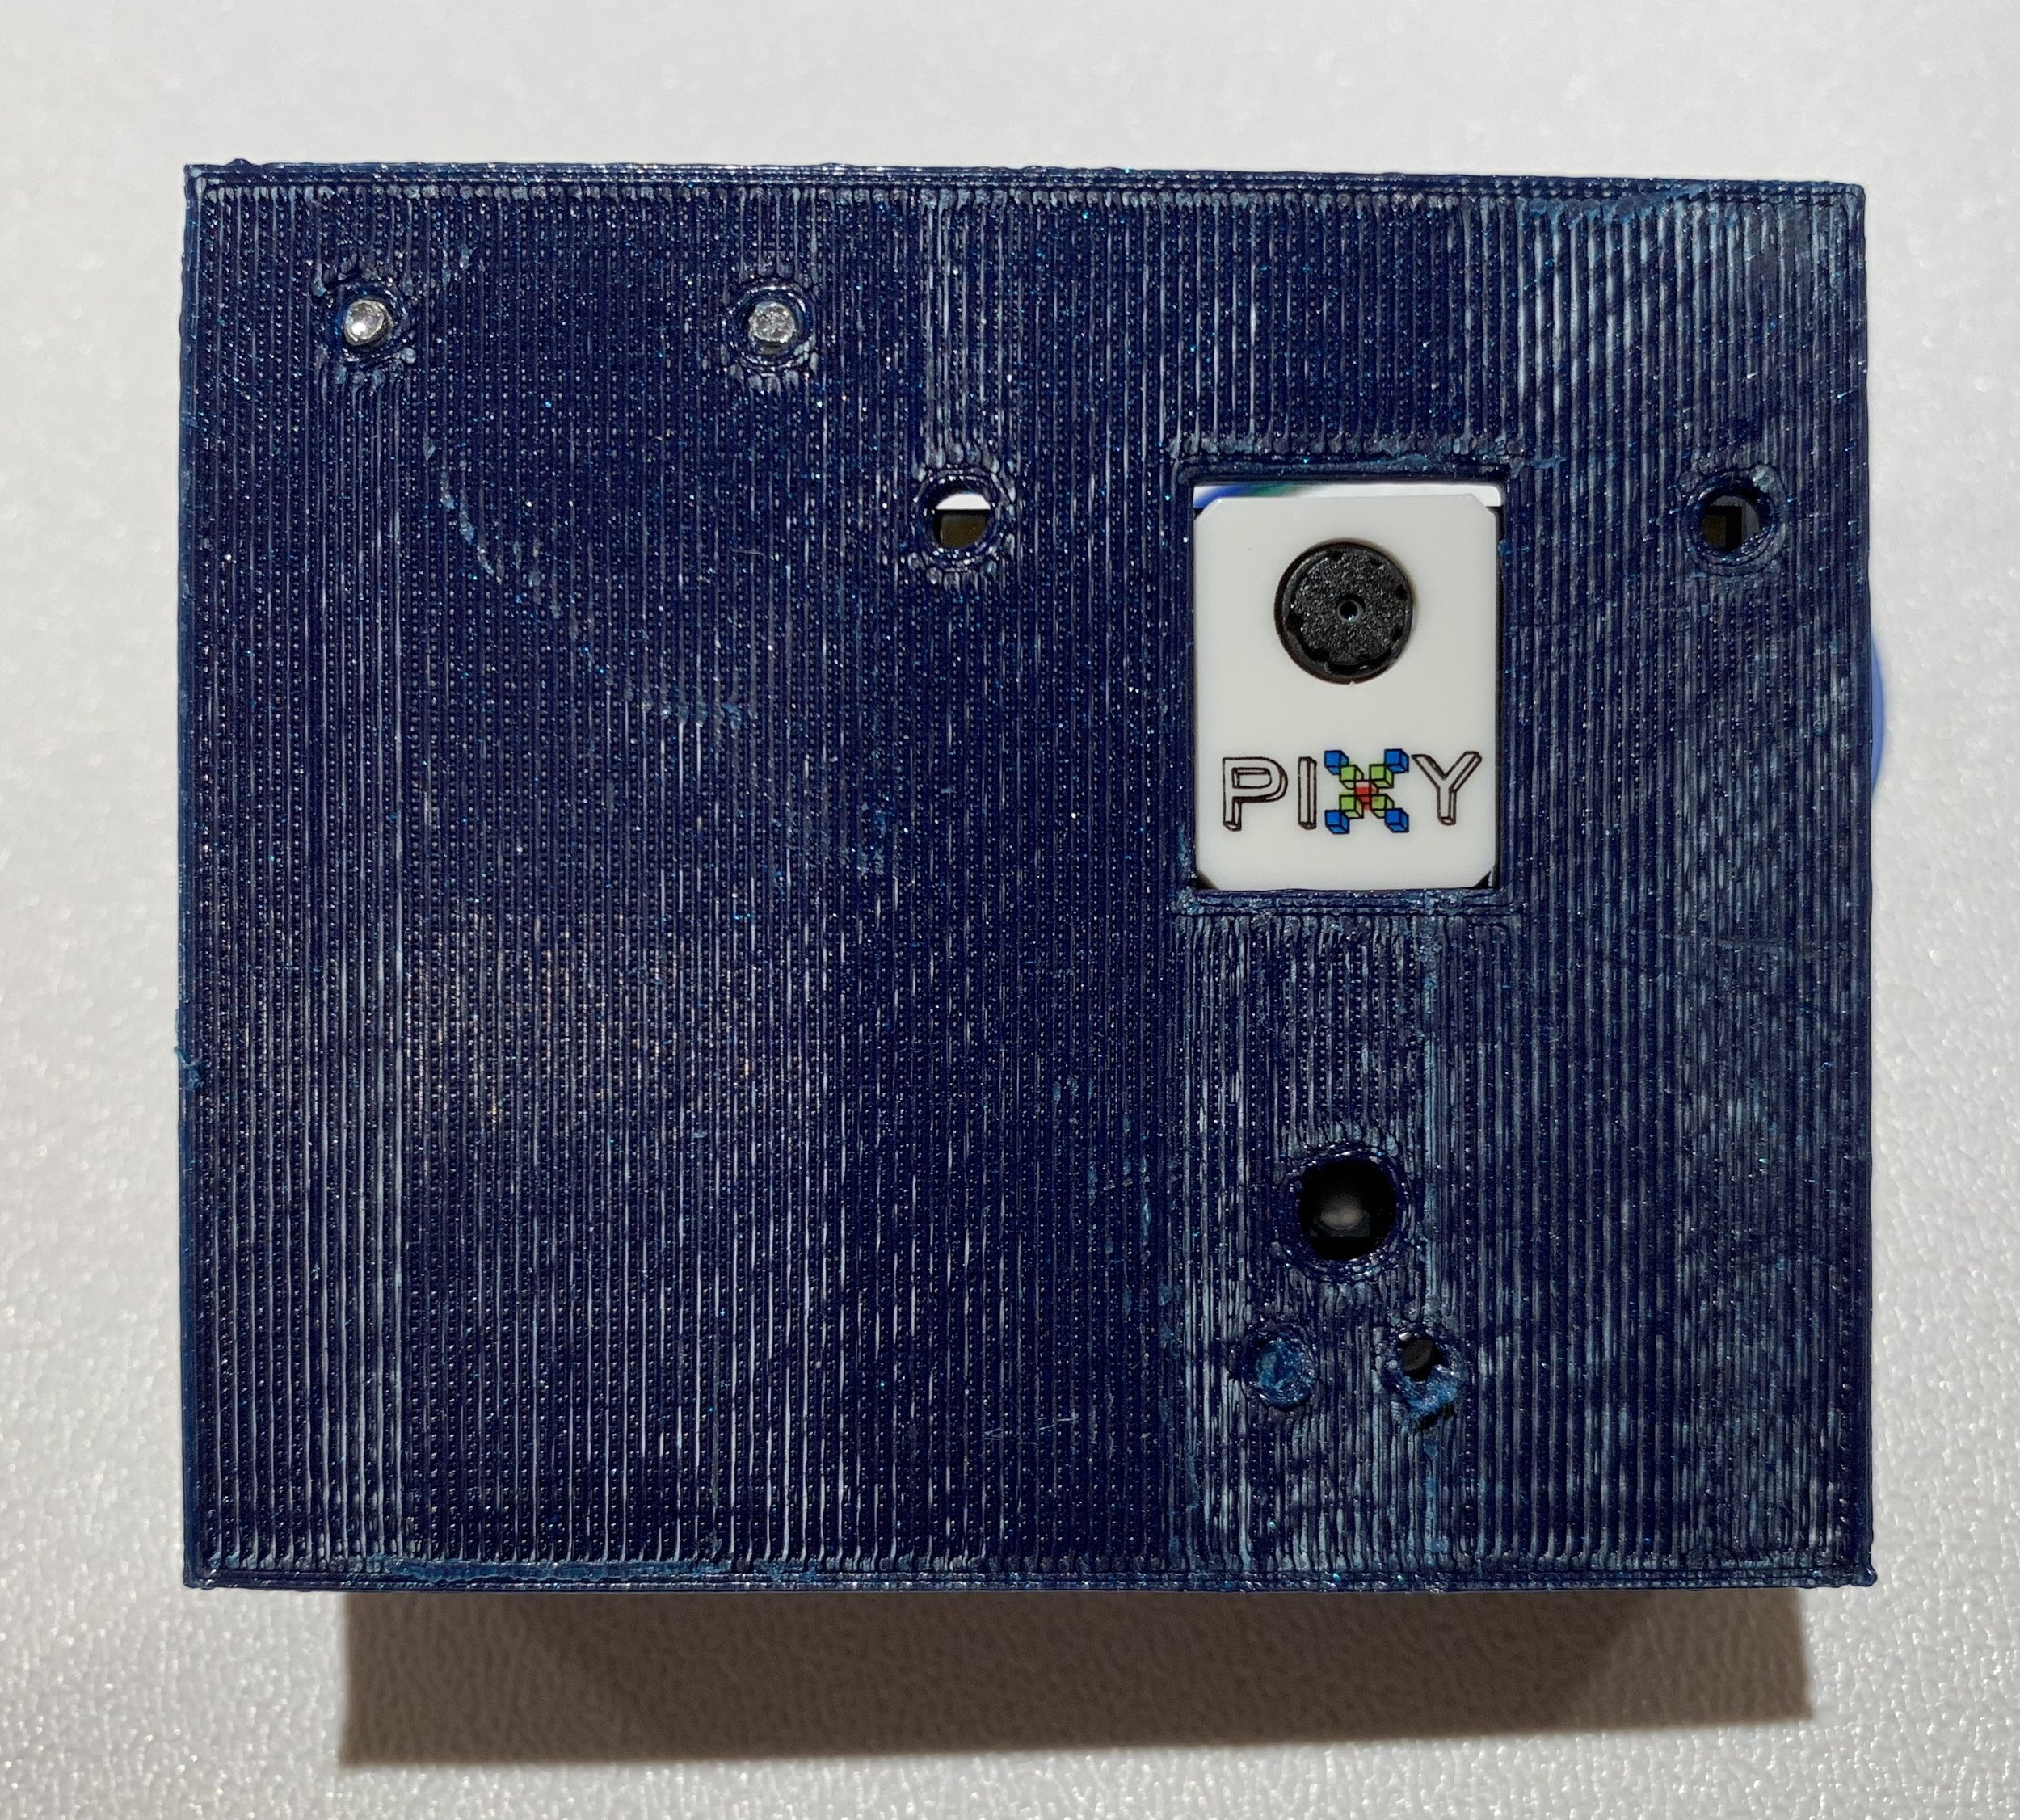
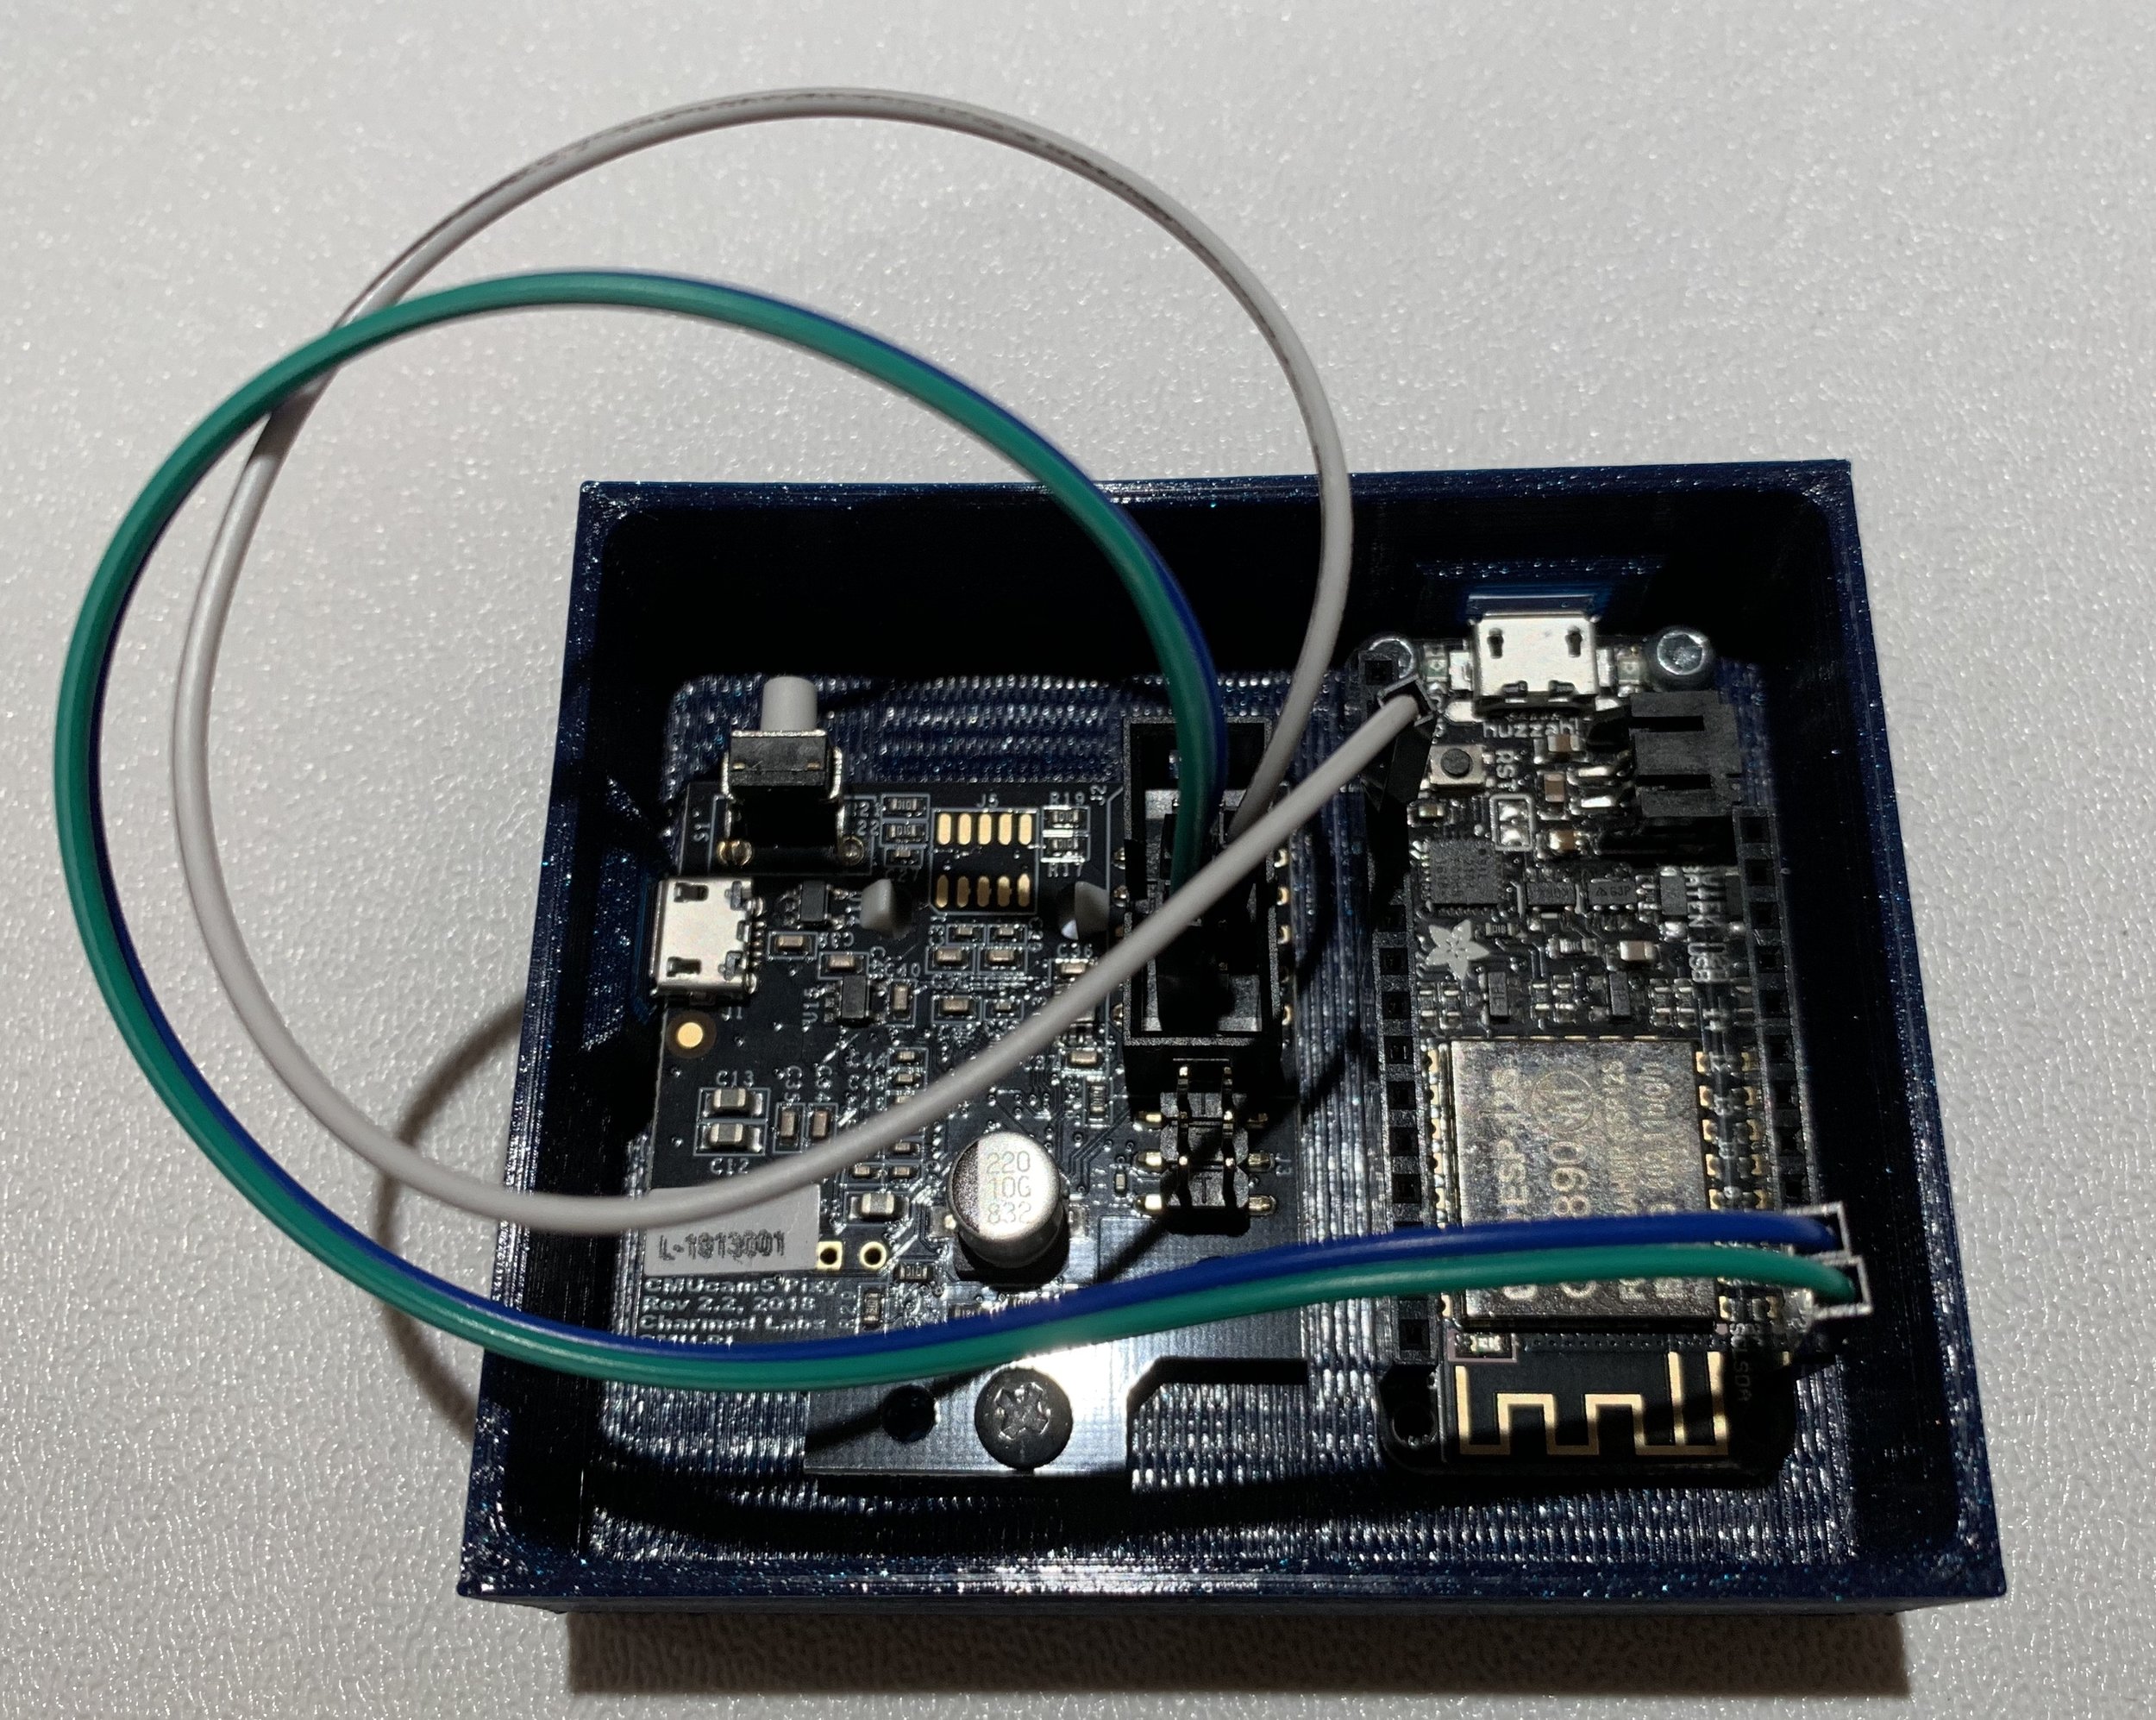
I started by assembling the camera module. The module consists of a Feather Huzzah WiFi board and the PixyCam camera that tracks the robots. I built a 3D printed case for these components that then attaches to a tripod to hold it above the table that the drones will live on.

IMG_1657.jpg

Next, I had to write some code to make the camera module output the location data of the swarm drones in a way that the drones can then understand. Here is how the code works:

  1. The WiFi board in the camera module asks the PixyCam for the coordinates of every drone that it sees as well as their color

  2. The WiFi board hosts a webserver where it displays a string that has the color of the drones it sees and their XY coordinates

  3. Every time a drone requests data from the webserver, the module will recheck what the camera sees and will update locations


So, to recap, the camera module tracks the location of each drone, and then each drone connects to the webserver to find its location. Here’s the tricky part: now that the drones know their current location, how can they navigate to another location. This is where the position algorithm comes into play. The algorithm works as follows:

  1. The drone reads its current location from the webserver

  2. The drone drives with both wheels turning at the same speed for a short time interval

  3. The drone reads its location again

  4. The drone compares the two locations and determines how far it has moved and in what direction

  5. The drone compares its current location its target location and determines the distance and direction to this point

  6. It compares the two vectors and finds the angle between them

  7. If the objective vector is to the right of position vector, the robot speeds up its left wheel, and vice versa

  8. Repeat until the robot approximately reaches the target

Here is a picture to aid my explanation:

Positioning Algorithm.png

Swarm Robotics Week 1: Hats, Limes, and Wheelies

Hey! I’m back with my first Senior Experience project update! This past week I hit the ground running on the first steps of building my swarm robots.

The first order of business was the build the drones: the individual robots of my swarm, the “worker bees”. I began by looking for inspiration from existing swarm robots. Although I’m going to be an engineering major next year, at heart, I’m an artist. I’m always thinking about how the things I build make people feel and how design elements evoke emotion. Swarm Robotics is a complicated topic, but I hope to convey it to people more easily by incorporating visual language into the design of my swarm. The basis of swarm robots is that each individual robot is extremely simple, so I was inspired to design each of my robots as one of the simplest forms in existence: the cube.

Screen Shot 2019-05-15 at 6.01.52 PM.png

But before I could even get to prototyping the robot’s body, I had to gather my components. Since I only need my robot to be able to move in an XY-plane and communicate wirelessly, I only needed four electrical components:

  • WiFi Microcontroller

  • 2x Continuous rotation servo motors

  • Small rechargeable battery

The only other parts I needed were two wheels to let the robot drive itself around!

Once I got all my parts, I went on to designing the robot. I settled on a two-piece design for the drone: one body piece and one “hat”. The body houses all the components I just listed and uses magnets to slot into the hat. The hat is a merely a cover for the robot. Each drone in the swarm will need to be a different color (for reasons we will talk about later), so having the hats as an interchangeable part will make producing these drones easier.

The body of the drone

While this all may sound simple on paper, it actually took quite a while to design this. I used a program called Fusion 360 to make 3D schematics for the drone, and then used a 3D printer to turn the schematics into real parts. Even then though, the parts did not fit perfectly, and I had to iterate many versions of the design.

All 10 prototypes of the robot’s body

All 10 prototypes of the robot’s body

While I was waiting for my robot parts to be 3D printed, I began experimenting with the PixyCam. Most cameras, like the one on your phone, only sees individual pixels of color. The PixyCam on the other hand, can actually understand what it is seeing. This is a hard thing to describe with words, so here’s a video of me using the PixyCam to recognize limes:

Eventually, I am going to use the PixyCam as a sensor for every drone in the robot swarm. It will track the location of the robots so that the swarm knows where its moving.

While I write this, I am finishing up the final version of the drone. Next week, I am going to make the drone to move, get it connected to the Internet, and make it talk to the PixyCam.